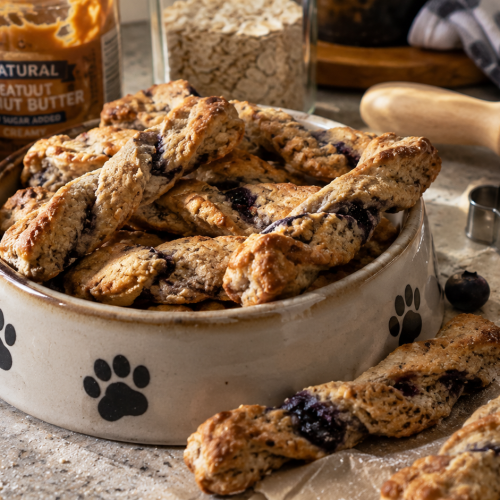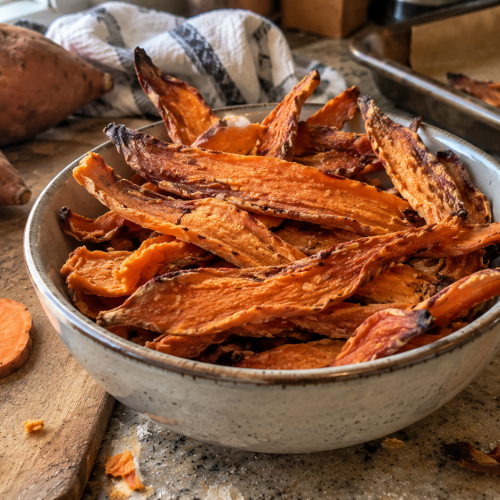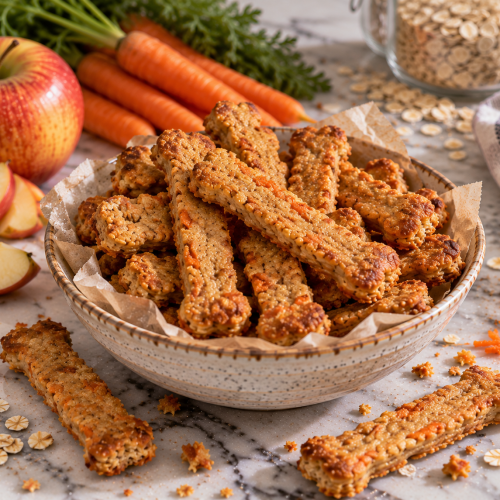

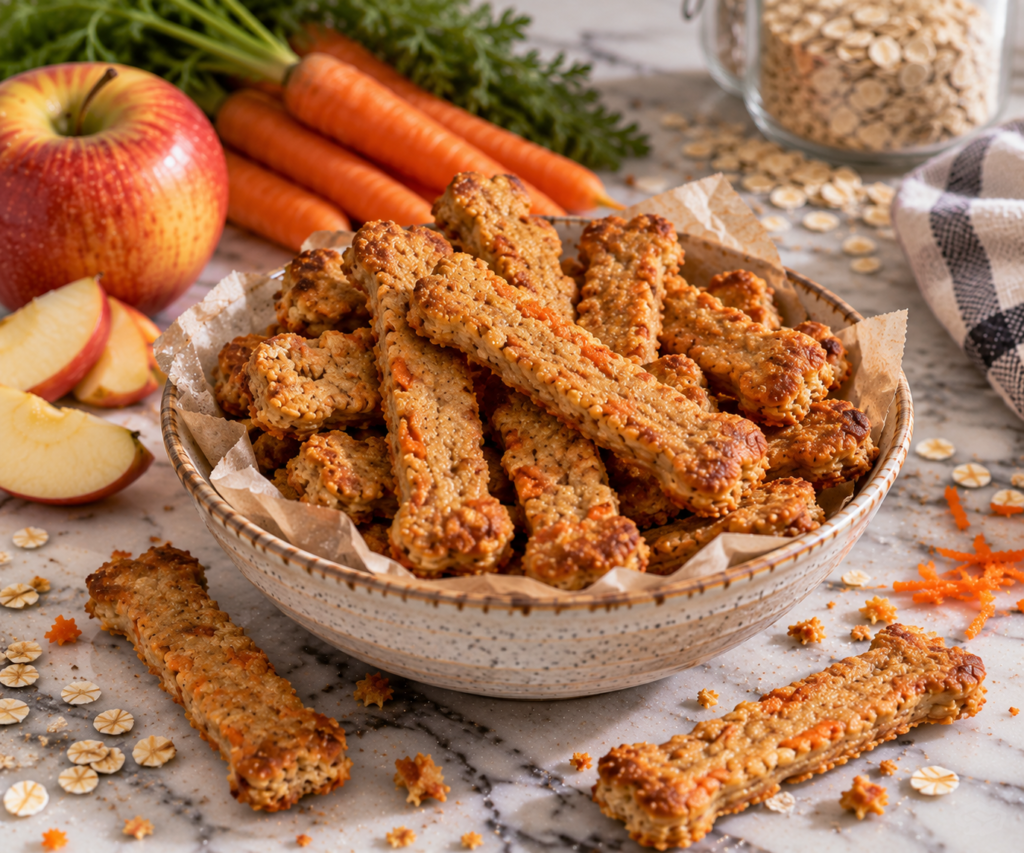
I love making homemade treats that feel a little more substantial than an ordinary biscuit, and these apple and carrot chew sticks are one of my favorites. They use simple ingredients, are easy to shape by hand, and bake into firm little sticks with a naturally sweet apple-and-carrot flavor.
I especially like making these when I want something my dog can nibble on for a little longer. The grated apple keeps the sticks flavorful while the carrot adds a little texture, and the oats give them a rustic homemade feel.
They’re also easy to make in a larger batch, so I can keep some ready for the week and freeze the rest for later.
Quick Answer
Yes, dogs can enjoy homemade apple and carrot chew sticks when they’re made with dog-safe ingredients and served appropriately.
Apples should be prepared without the stem, core, or seeds, while carrots should be washed and grated or otherwise prepared into a manageable texture. Both can be suitable treats for dogs in moderation.
These homemade sticks are intended as treats, not a replacement for a complete diet or professional dental chew. Because every dog chews differently, supervise your dog the first few times you offer one.
Recipe Snapshot
| Details | |
|---|---|
| Prep time | 15 minutes |
| Bake time | 40–45 minutes |
| Cooling time | About 1 hour |
| Total time | About 2 hours |
| Yield | About 16 chew sticks |
| Oven temperature | 350°F / 175°C |
| Storage | Refrigerator or freezer |
Key Takeaways
- Fresh apple and carrot provide natural flavor without added sugar.
- Always remove the apple core, seeds, and stem before grating.
- Plain rolled oats and flour help give the sticks their firm structure.
- Roll the dough evenly so the sticks bake consistently.
- Letting the baked sticks cool completely helps them firm up.
- Treats should remain a small part of your dog’s overall diet.
- Supervise chewing and choose a stick size appropriate for your dog.
Are Apple and Carrot Chew Sticks Safe for Dogs?
Apples and carrots can both be offered to dogs as occasional treats when prepared properly. Apples contain fiber and several vitamins, while carrots provide fiber and nutrients including beta-carotene.
The important part is how they’re prepared.
For the apple, remove the stem, core, and seeds before grating. Don’t simply grate around the core and leave pieces mixed into the dough. The seeds and core aren’t ingredients you want in homemade dog treats.
Carrots should be washed well and grated finely for this recipe. Grating makes them easier to distribute throughout the dough and gives the finished sticks a more consistent texture.
I also keep this recipe intentionally simple. There is no added sugar, salt, chocolate, raisins, onion, garlic, or heavily seasoned ingredients.
A Note About the Word “Chew”
These are baked homemade chew sticks, not veterinary dental chews or indestructible chew toys.
The finished texture can range from firm and crunchy to slightly chewy depending on how thick you make them and how thoroughly they dry. Never assume a homemade treat is safe to leave with a dog unattended simply because it is called a “chew.”
How to Make Apple and Carrot Chew Sticks
Ingredients
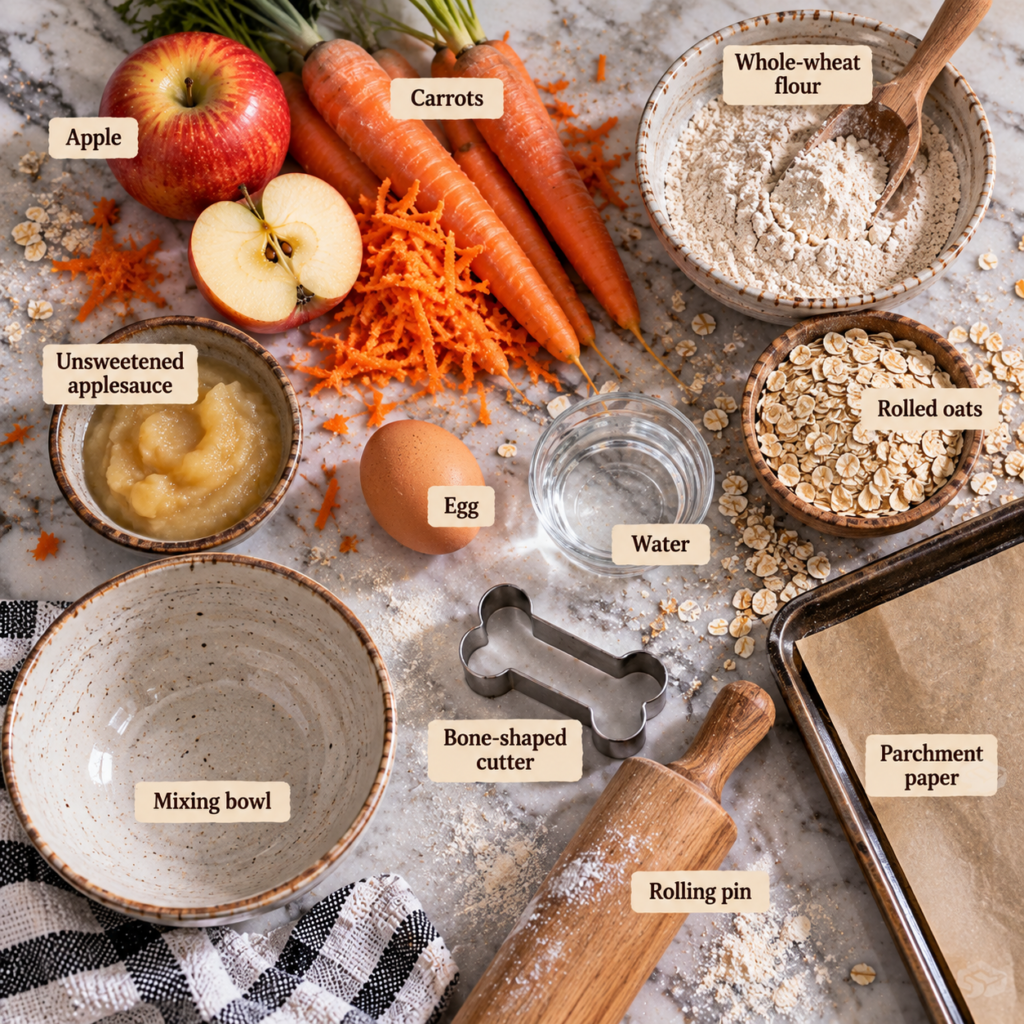
- 1 medium apple, peeled, cored, and finely grated
- 1 medium carrot, peeled and finely grated
- 2 cups whole-wheat flour
- ½ cup plain rolled oats
- 1 large egg
- ⅓ cup plain unsweetened applesauce
- 2 tablespoons water, as needed
Step 1: Prepare the Apple and Carrot
Wash the apple and carrot thoroughly.
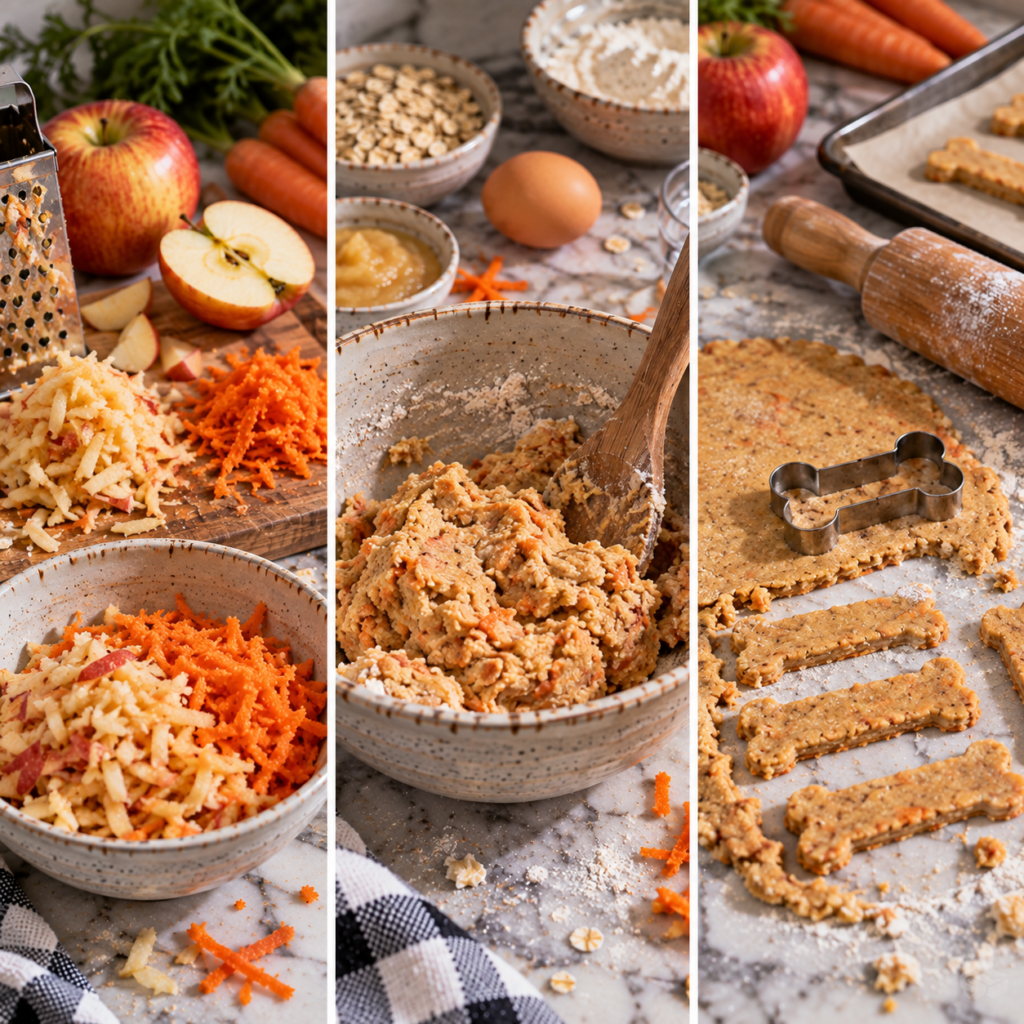
Peel and remove the apple’s stem, core, and seeds. Grate the apple finely.
Peel the carrot if needed and grate it using the smaller holes of a box grater.
If the grated apple is particularly juicy, gently press out some of the excess liquid. You want enough moisture to help form the dough without making it wet and sticky.
Step 2: Make the Dough
Add the grated apple, grated carrot, whole-wheat flour, and rolled oats to a large mixing bowl.
Stir everything together so the fruit and vegetables are evenly distributed.
Add the egg and applesauce and mix until the ingredients begin forming a dough.
If the mixture still looks dry or crumbly, add water one tablespoon at a time until the dough holds together when pressed.
Don’t add all the water automatically. Apples and carrots vary in moisture, so your dough may need less.
Step 3: Shape the Chew Sticks
Lightly flour your work surface and turn out the dough.
Roll it into an even sheet about ½ inch thick.
Cut the dough into strips approximately 4 inches long and ½ inch wide.
You can make them shorter for small dogs. Keeping the pieces relatively uniform helps them bake at the same rate.
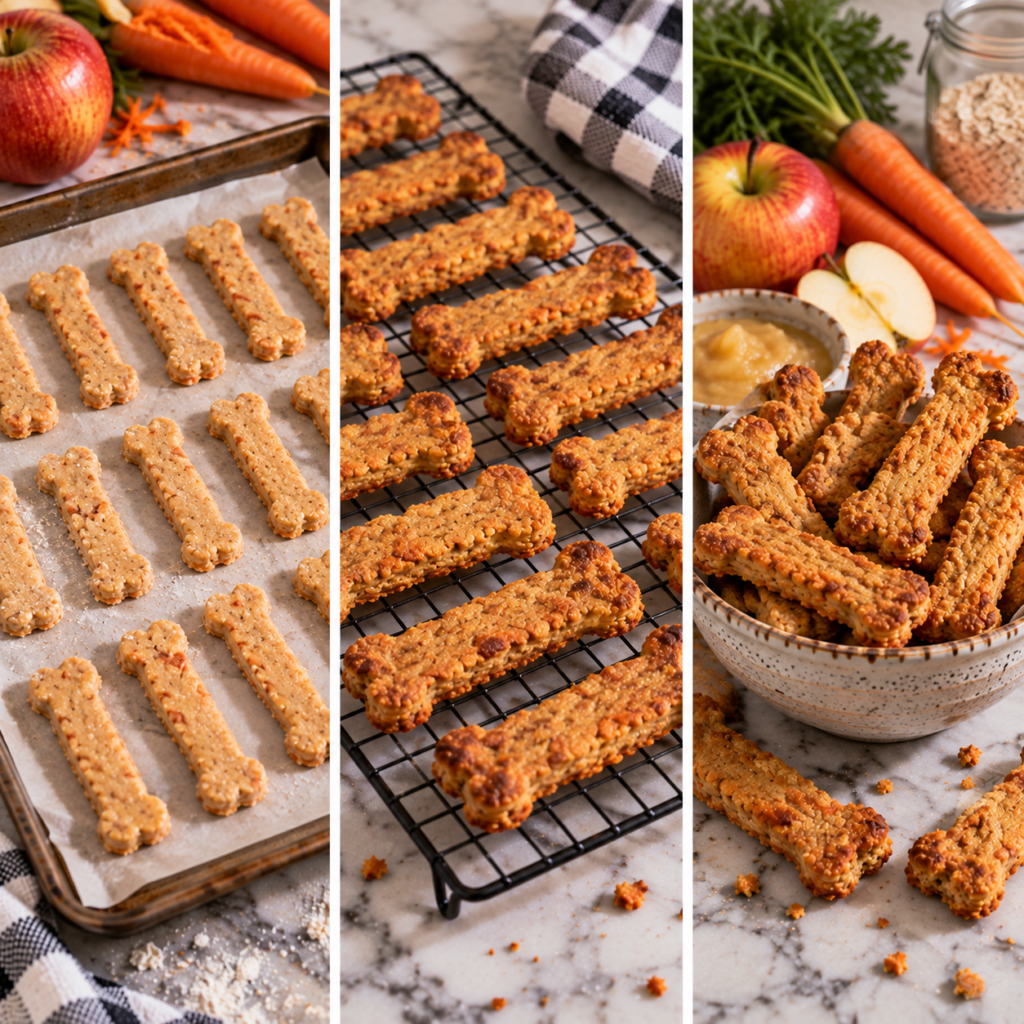
Place the sticks on a parchment-lined baking sheet with a little space between each one.
Step 4: Bake
Preheat your oven to 350°F (175°C).
Bake the chew sticks for approximately 40–45 minutes, or until they’re golden and feel firm.
For a firmer, drier texture, turn the oven off after baking and leave the sticks inside while they cool gradually.
Once completely cool, transfer them to a wire rack if needed and allow any remaining warmth or moisture to escape.
Serving, Storage & Variations
How Much Should You Give Your Dog?
Start with a small piece, especially if your dog hasn’t had homemade apple or carrot treats before.
The appropriate amount depends on your dog’s size, activity level, regular diet, and overall calorie needs. Treats should remain a limited part of the daily diet rather than replacing balanced food.
For smaller dogs, make shorter and thinner sticks from the beginning rather than simply breaking a large, very hard stick into pieces.
Storage
Once completely cool, store the chew sticks in an airtight container in the refrigerator.
For longer storage, freeze them in a freezer-safe container or bag with parchment between layers.
Thaw frozen treats in the refrigerator before serving.
If you notice mold, an unusual smell, or significant moisture buildup, discard the affected treats.
Make Them Smaller
For puppies, small breeds, or dogs that prefer smaller treats, roll the dough thinner and cut shorter sticks.
The goal is to create a size and texture that suits your individual dog rather than treating one stick size as appropriate for every dog.
Use Oat Flour
If you prefer, replace some or all of the wheat flour with plain oat flour.
The dough may behave slightly differently, so add the liquid gradually and stop as soon as the mixture becomes workable.
Add Pumpkin
For a seasonal variation, you can replace some of the applesauce with plain pumpkin puree.
Use 100% plain pumpkin, not pumpkin pie filling or a seasoned pumpkin mixture.
Common Mistakes
Leaving the Apple Core in the Mixture
Don’t grate the whole apple and leave the core behind in the dough.
Remove the core, stem, and seeds first.
Making the Sticks Too Thick
Very thick sticks can remain soft in the middle while becoming overly browned on the outside.
Keep them around ½ inch thick for more even baking.
Adding Too Much Water
The moisture in apples and carrots varies considerably.
Add water gradually rather than following the full amount automatically.
A slightly firm dough is easier to shape and produces a better-textured stick.
Serving Them While They’re Still Warm
Freshly baked treats continue firming as they cool.
Let the sticks cool completely before giving them to your dog.
Treating Them Like Dental Chews
These homemade sticks aren’t a substitute for brushing your dog’s teeth, professional dental care, or a veterinary-recommended dental product.
Their main purpose is to be a homemade snack that happens to have a firmer texture.
FAQ
Can dogs eat apple and carrot together?
Yes. Apples and carrots can both be suitable dog treats when properly prepared and given in moderation. Remove the apple’s core, stem, and seeds before using it.
Can I use applesauce instead of fresh apple?
You can, but use plain unsweetened applesauce without added sugar, spices, or artificial sweeteners. Fresh grated apple gives these chew sticks more texture and flavor.
Can I make these without wheat flour?
Yes. Plain oat flour can be used as an alternative, although the dough may have a slightly different texture and may require small adjustments to the liquid.
Are these suitable for puppies?
They can be made into smaller pieces, but puppies have different chewing abilities and nutritional needs. Introduce new treats gradually and choose a texture that your puppy can handle safely.
How long do homemade apple carrot chew sticks last?
Keep completely cooled sticks refrigerated for short-term storage, or freeze them for longer storage. Always check for signs of spoilage before serving.
Can I make the sticks softer?
Yes. Reduce the drying time and don’t leave them in the cooling oven for as long. A shorter bake will produce a softer treat.
Can I make them crunchier?
For a firmer texture, keep the sticks relatively thin and allow them to dry further after baking. Leaving them in the switched-off oven as it cools can help remove additional moisture.
Conclusion
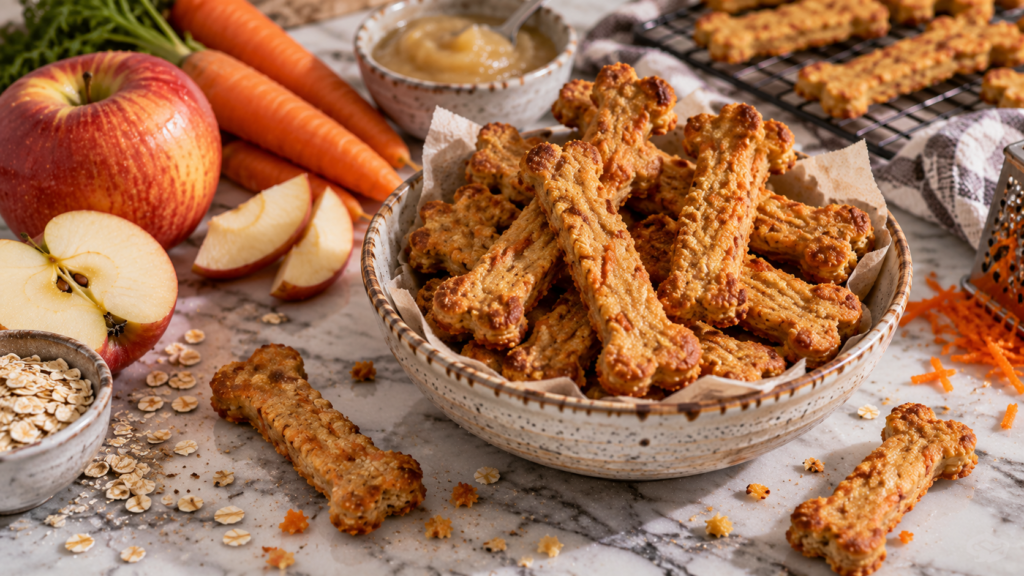
These apple and carrot chew sticks are a simple way to turn a few everyday ingredients into a homemade treat your dog can enjoy.
I like them because they’re easy to customize, simple enough for a beginner, and sturdy enough to feel different from the usual soft dog biscuit. The fresh apple and carrot add natural flavor, while the oats and flour give the sticks their structure.
Make them small for little dogs, adjust the baking time for the texture your dog prefers, and always let them cool completely before serving.
Most importantly, remember that homemade treats are still treats. A little goes a long way, and the right size and texture matter just as much as the ingredients.
Medical Disclaimer
This recipe is intended as a general homemade dog-treat idea and is not a substitute for veterinary advice. Dogs with allergies, food sensitivities, digestive conditions, dental problems, or other medical needs may require different ingredients or textures. If you’re unsure whether this recipe is appropriate for your dog, speak with your veterinarian before introducing it.