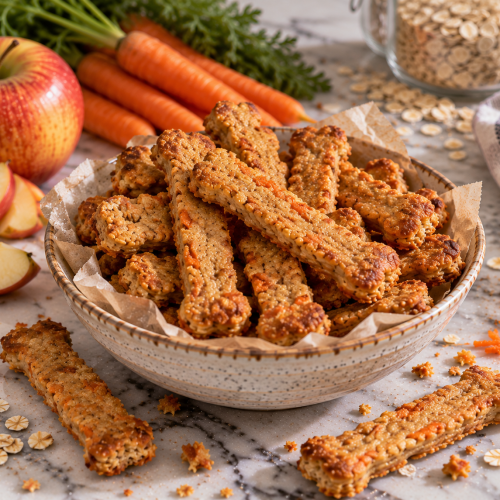

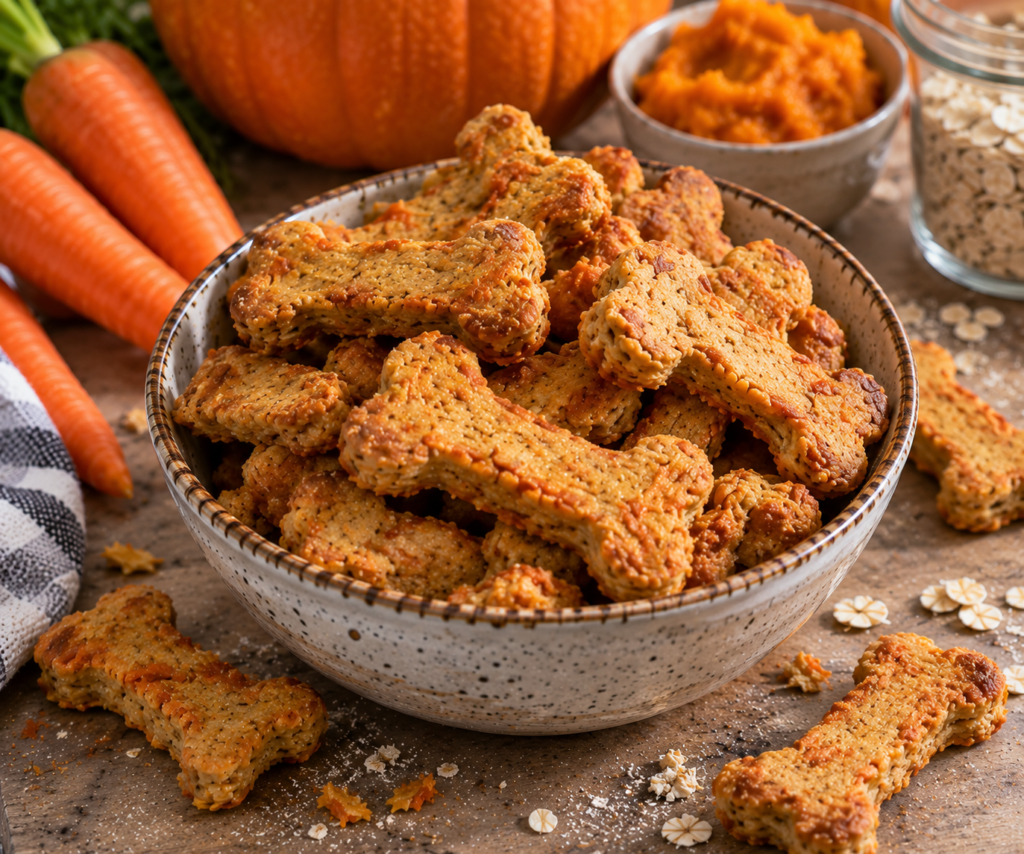
Making homemade treats when I can keep the ingredients simple and recognizable is fun, and these pumpkin carrot dog chews are exactly that kind of recipe. They have a soft, chewy texture, a little natural sweetness from pumpkin and carrot, and they’re easy to make with ingredients you may already have in the kitchen.
I especially like making these when I want something different from a crunchy biscuit. Instead of baking them until they become hard and dry, I keep the pieces a little thicker and take them out while they’re still tender in the center. Once they cool, they firm up slightly while keeping that soft, chewy texture.
They’re also easy to portion into small bites, which makes them useful as an occasional treat or training reward.
Quick Answer
Yes, dogs can enjoy homemade pumpkin carrot chews when they are made with plain pumpkin, finely grated carrot, and other dog-safe ingredients. Plain pumpkin and carrots are generally safe for dogs when served appropriately, while treats should remain a small part of the overall diet.
For this recipe, use 100% plain pumpkin puree, not pumpkin pie filling, and grate the carrot finely. The finished chews should be tender and easy to break apart rather than extremely hard.
Recipe Snapshot
| Detail | Information |
|---|---|
| Prep time | 10 minutes |
| Bake time | 25–30 minutes |
| Total time | About 40 minutes |
| Texture | Soft and chewy |
| Yield | About 30–40 small chews |
| Storage | Refrigerate up to 1 week |
| Freezer | Up to 3 months |
Key Takeaways
- Use plain 100% pumpkin puree, not pumpkin pie filling.
- Finely grate the carrot so it softens properly during baking.
- Oat flour creates a soft, easy-to-handle dough.
- Keep the chews slightly thicker if you want them tender.
- Do not bake them until they become rock-hard.
- Let them cool completely before serving.
- Introduce a new treat in a small amount.
- Homemade chews are treats, not a replacement for complete and balanced dog food.
Why Pumpkin and Carrot Work Well in Dog Treats
Pumpkin and carrots are both commonly used as dog-safe ingredients when prepared plainly and served in moderation.
Pumpkin provides fiber and can be a useful addition to a dog’s diet, while carrots provide fiber and nutrients such as beta-carotene. Neither ingredient needs sugar, salt, butter, or heavy seasoning to make a treat appealing.
The combination also works particularly well in a baked treat because pumpkin supplies moisture while finely grated carrot adds texture and natural color.
One important distinction: these are chewy treats, not dental chews. They should not be baked or dehydrated until they become extremely hard.
How to Make Homemade Pumpkin Carrot Dog Chews
Ingredients
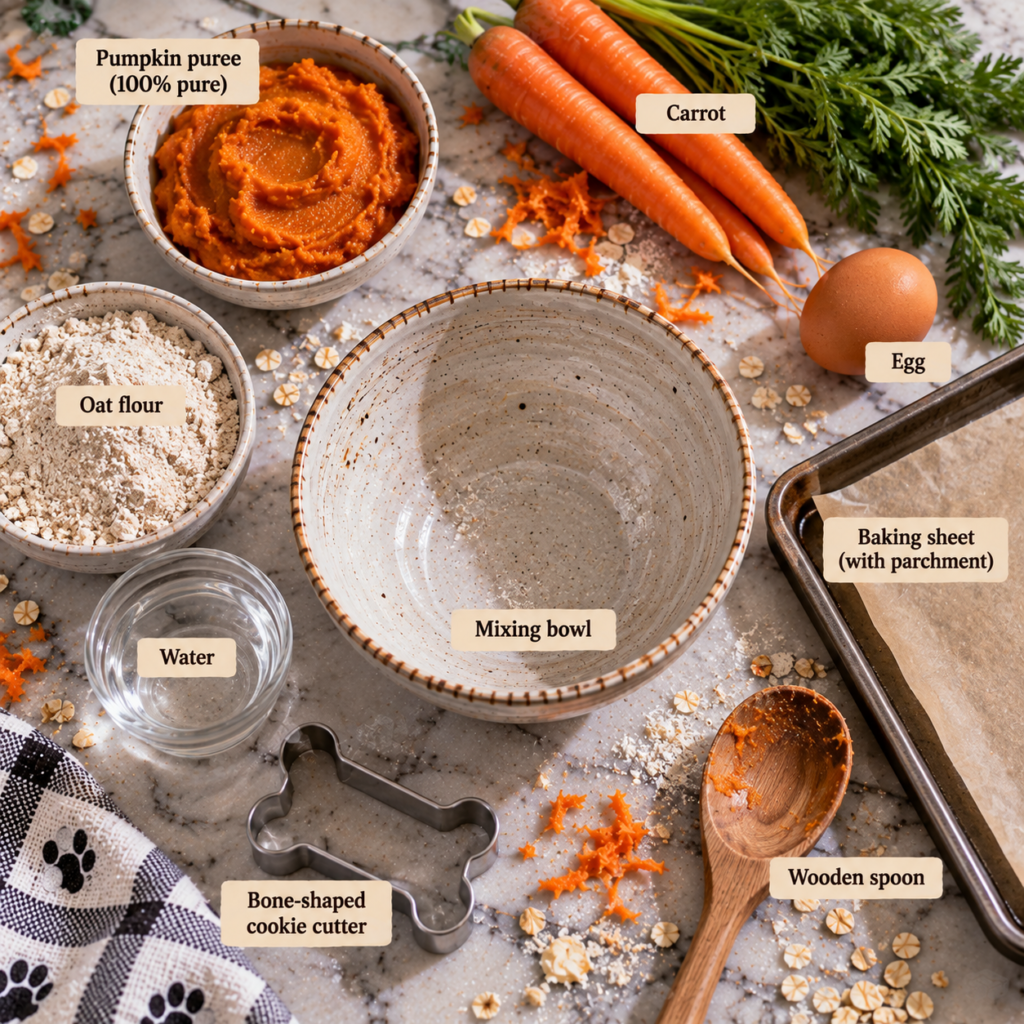
- ¾ cup plain 100% pumpkin puree
- ½ cup finely grated carrot
- 1 large egg
- 1½ cups oat flour, approximately
- 1–2 teaspoons water, only if needed
1. Prepare the Oven
Preheat your oven to 325°F (165°C).
Line a baking sheet with parchment paper or a silicone baking mat.
2. Prepare the Carrot
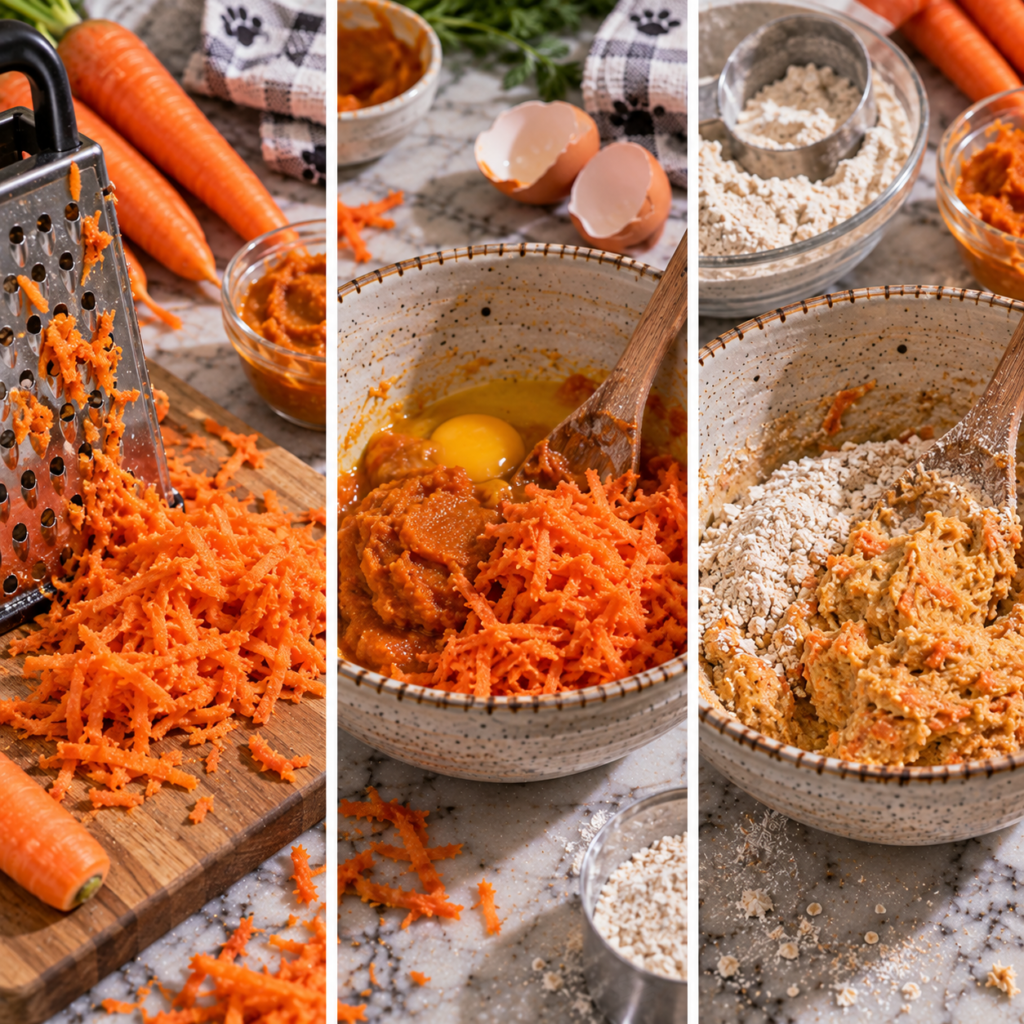
Wash the carrot well and grate it finely.
Fine shreds are important because larger pieces can remain firm inside the chew and make the dough harder to shape.
If the grated carrot is particularly wet, gently squeeze out a little excess moisture with a clean kitchen towel.
3. Mix the Wet Ingredients
Add the pumpkin puree, grated carrot, and egg to a large mixing bowl.
Stir until everything is evenly combined.
4. Add the Oat Flour
Add about 1 cup of oat flour and mix.
Gradually add the remaining flour until you have a soft dough that can be shaped without being extremely sticky.
Because pumpkin puree and carrots vary in moisture, you may not need the entire amount of flour.
If the dough feels too dry, add water one teaspoon at a time.
5. Shape the Chews
Transfer the dough to a lightly floured surface.
Roll or press it to about ¼ inch thick for a moderately chewy texture.
For larger dogs, you can make slightly thicker pieces. For small dogs, make smaller pieces that are easy to break apart.
Use a small bone-shaped cutter, or simply cut the dough into small squares or strips with a knife.
6. Bake
Arrange the pieces on the prepared baking sheet with a little space between them.
Bake for 25–30 minutes, checking toward the end of the baking time.
The outside should be set, and the center should still have a little give.
Avoid baking them for a long time just to make them harder. The goal of this recipe is a tender chew, not a rock-hard biscuit.
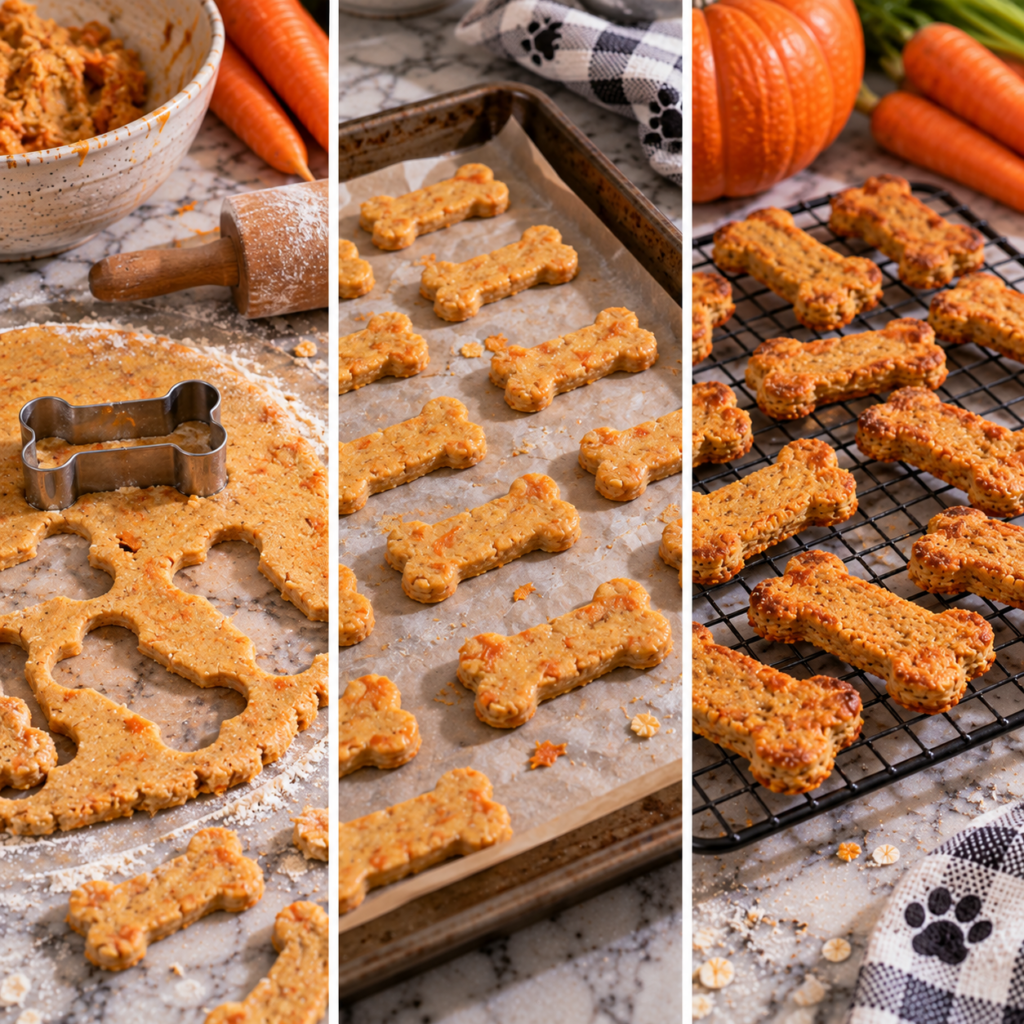
7. Cool Completely
Remove the baking sheet from the oven and let the chews cool completely.
They will firm up slightly as they cool.
Once completely cool, check one before storing. It should be firm enough to hold its shape but still easy to break apart.
Serving, Storage & Variations
Serving Size
Start with a small piece the first time your dog tries the recipe.
The appropriate amount depends on your dog’s size, calorie needs, activity level, existing diet, and other treats given that day. Treats should generally make up only a small portion of daily calories, with the majority coming from a complete and balanced diet.
For training, you can make very small pieces so your dog receives several rewards without eating a large amount.
For Small Dogs
Make small flattened pieces rather than long strips.
This makes them easier to portion and reduces the chance of giving more food than intended.
For Larger Dogs
You can make the chews slightly larger or thicker, but they should still be easy to break apart.
I prefer making medium-sized pieces and breaking them into smaller portions when needed.
Make Them Softer
For a softer chew, make the pieces slightly thicker and avoid extending the baking time.
Store them in the refrigerator once cooled.
Make Them Firmer
If your dog prefers a firmer texture, bake them toward the longer end of the recommended time.
Keep in mind that additional drying changes the texture significantly. These should not become extremely hard, particularly for dogs with dental problems.
Storage
Because these chews contain moisture and don’t contain commercial preservatives, store them in an airtight container in the refrigerator for up to 1 week.
For longer storage, freeze them in a freezer-safe container for up to 3 months.
Cool the treats completely before sealing them. Warm treats trapped in a container can create condensation and shorten their shelf life.
Discard any treat that develops mold, an unusual smell, sliminess, or another obvious change in texture.
Common Mistakes
Using Pumpkin Pie Filling
This is one of the easiest mistakes to make.
Use plain 100% pumpkin puree. Pumpkin pie filling can contain added sugar and spices that aren’t appropriate for dogs.
Leaving the Carrot in Large Pieces
Large carrot pieces can stay firm and make the dough crack.
Finely grate the carrot so it distributes evenly throughout the mixture.
Adding Too Much Flour
Pumpkin and carrot naturally contain moisture, so the exact amount of oat flour can vary.
Add the flour gradually instead of dumping it all in at once.
Rolling the Dough Too Thin
Very thin pieces lose moisture quickly and can turn crisp instead of chewy.
Keep the dough around ¼ inch thick if you want a tender texture.
Overbaking
Longer baking does not automatically make a better chew.
If you want a soft texture, remove the treats once they’re set and still have some give in the center.
Giving Too Many
Even wholesome ingredients still contribute calories.
Keep these treats as an occasional extra rather than allowing them to replace your dog’s regular balanced food.
FAQ
Can dogs eat pumpkin carrot chews?
Yes, dogs can generally enjoy treats made with plain pumpkin and carrots when the ingredients are appropriate and the treats are given in moderation.
Can I use fresh pumpkin instead of canned?
Yes. Cook plain pumpkin until soft, remove the seeds and skin, and mash or puree the flesh. Allow it to cool before using it in the recipe.
The moisture level may differ from canned pumpkin, so adjust the oat flour gradually.
Can I use regular flour instead of oat flour?
Yes, if your dog normally tolerates wheat. Oat flour is convenient for this recipe, but the important thing is choosing an ingredient your individual dog tolerates.
Do I need to peel the carrot?
Not necessarily. A fresh carrot can be scrubbed thoroughly and grated with the peel left on. Remove any damaged areas first.
Can puppies eat these chews?
Puppies can have treats appropriate for their age and diet, but introduce new foods gradually and keep portions small. Puppies with dietary restrictions or sensitive stomachs should be discussed with a veterinarian before adding homemade treats.
Can I add cinnamon?
The recipe doesn’t need it. Keeping these chews simple makes it easier to control the ingredients, especially if you’re making them for a dog with dietary sensitivities.
Are these dental chews?
No. These are soft homemade treats with a chewy texture. They should not be made extremely hard or marketed as a substitute for dental care.
Can I freeze pumpkin carrot chews?
Yes. Freeze completely cooled chews in a freezer-safe container for up to about 3 months. Thaw individual portions as needed.
Conclusion
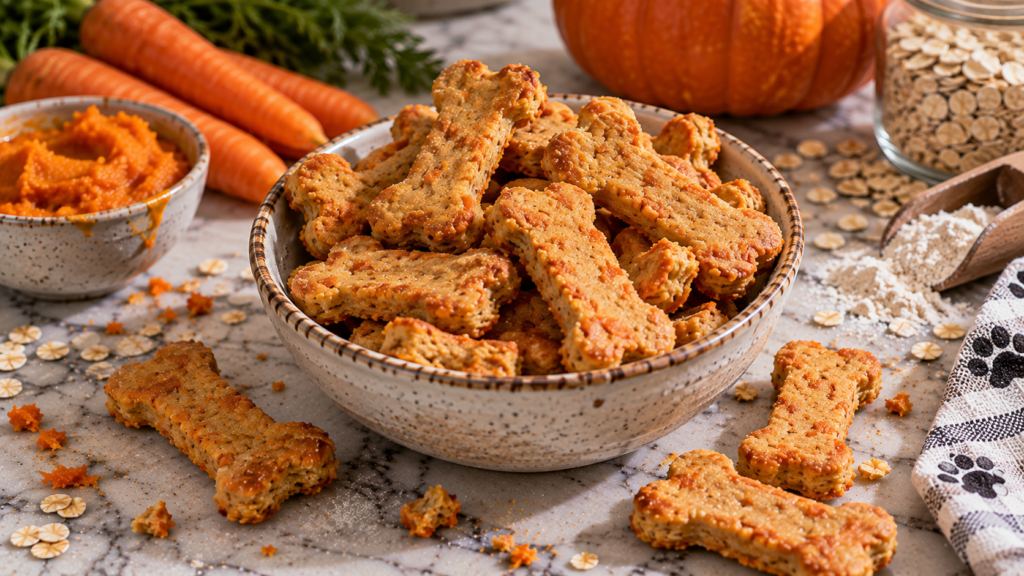
These homemade pumpkin carrot dog chews are a simple way to make a soft, chewy treat without a long ingredient list. Plain pumpkin keeps the dough moist, finely grated carrot adds texture and natural color, and oat flour gives everything enough structure to shape and bake.
I like keeping them slightly soft rather than trying to turn them into rock-hard biscuits. They’re easy to portion, easy to store, and simple enough to make whenever your dog deserves a homemade snack.
As with any treat, start with a small portion and keep the rest of your dog’s daily diet in mind.
Medical Disclaimer
This recipe is intended as a homemade treat, not a complete or balanced diet. Dogs with food allergies, chronic digestive problems, diabetes, pancreatitis, kidney disease, dental disease, or veterinarian-prescribed diets may need individualized dietary recommendations. Speak with your veterinarian before introducing new foods if your dog has a medical condition or dietary restriction.