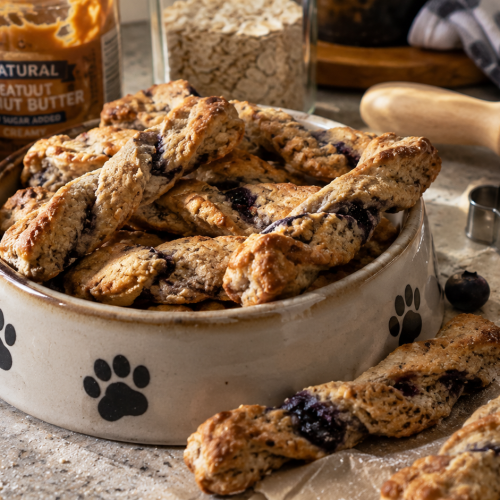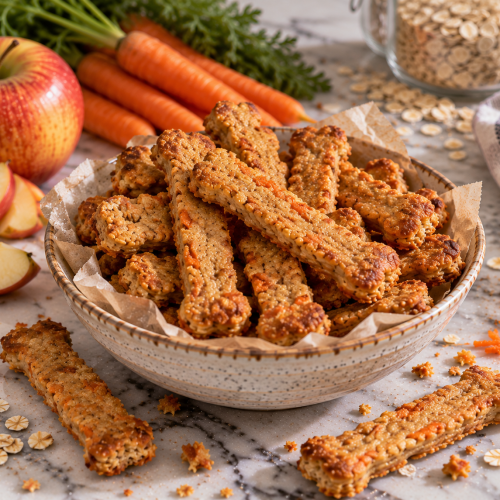

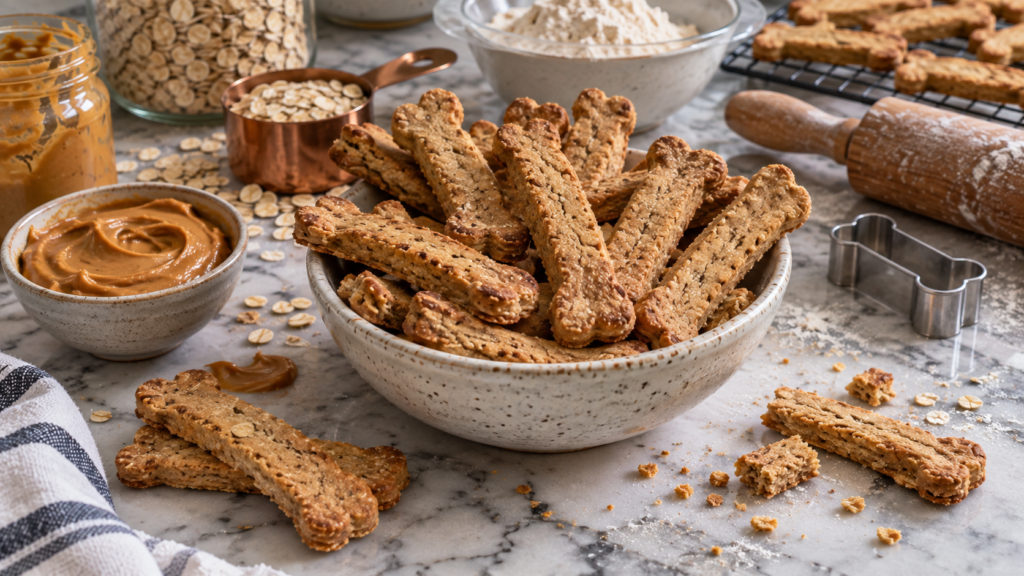
I love making homemade treats for my dog, especially when I can turn a few simple ingredients into something that feels a little more special than an everyday biscuit. These homemade peanut butter dog sticks are one of my favorites because they are easy to mix, easy to shape, and bake up with a satisfying crunch.
The dough comes together with peanut butter, egg, and simple pantry ingredients, then gets cut into little sticks that are easy to portion and store. They make a great occasional reward without needing a long ingredient list or complicated preparation.
The most important part is choosing the right peanut butter. It needs to be plain and completely free from xylitol (also called birch sugar), because xylitol is highly toxic to dogs.
Quick Answer
Yes, you can make homemade peanut butter dog sticks with dog-safe peanut butter.
For this recipe, use:
- Plain peanut butter with no xylitol or birch sugar
- Whole-wheat flour
- Rolled oats
- One egg
- Water as needed
The finished sticks are baked until firm and lightly browned. Because peanut butter is relatively high in fat and calories, these should be given as an occasional treat and counted as part of your dog’s daily treat allowance.
Recipe Snapshot
| Details | |
|---|---|
| Prep time | 15 minutes |
| Bake time | 20–25 minutes |
| Total time | About 40 minutes |
| Yield | About 24–30 sticks |
| Oven | 350°F / 175°C |
| Texture | Firm and crunchy |
| Storage | Up to 1 week refrigerated |
Key Takeaways
- Always check the peanut butter label before making these treats.
- Never use peanut butter containing xylitol or birch sugar.
- Plain, unsalted peanut butter without added sugar is the simplest choice.
- Peanut butter is calorie-dense, so these sticks should be offered in moderation.
- Make the sticks thinner for smaller dogs and adjust the portion to suit your dog’s size.
- Let the sticks cool completely before storing them.
Choosing Peanut Butter for Dog Treats
Not all peanut butter is equally suitable for homemade dog treats.
Look for a peanut butter with a short ingredient list and avoid products containing xylitol, birch sugar, added chocolate, or heavily sweetened ingredients. Unsalted peanut butter without added sugar is a straightforward choice.
Xylitol deserves particular attention because it can cause a rapid drop in blood sugar in dogs and can lead to serious poisoning. If you ever suspect your dog has eaten peanut butter containing xylitol, contact a veterinarian or emergency veterinary clinic immediately rather than waiting for symptoms.
Peanut butter is also high in fat and calories, so more is not necessarily better. These treats are designed to provide a small amount of peanut butter in each serving rather than becoming a major part of your dog’s diet.
How to Make Homemade Peanut Butter Dog Sticks
Ingredients
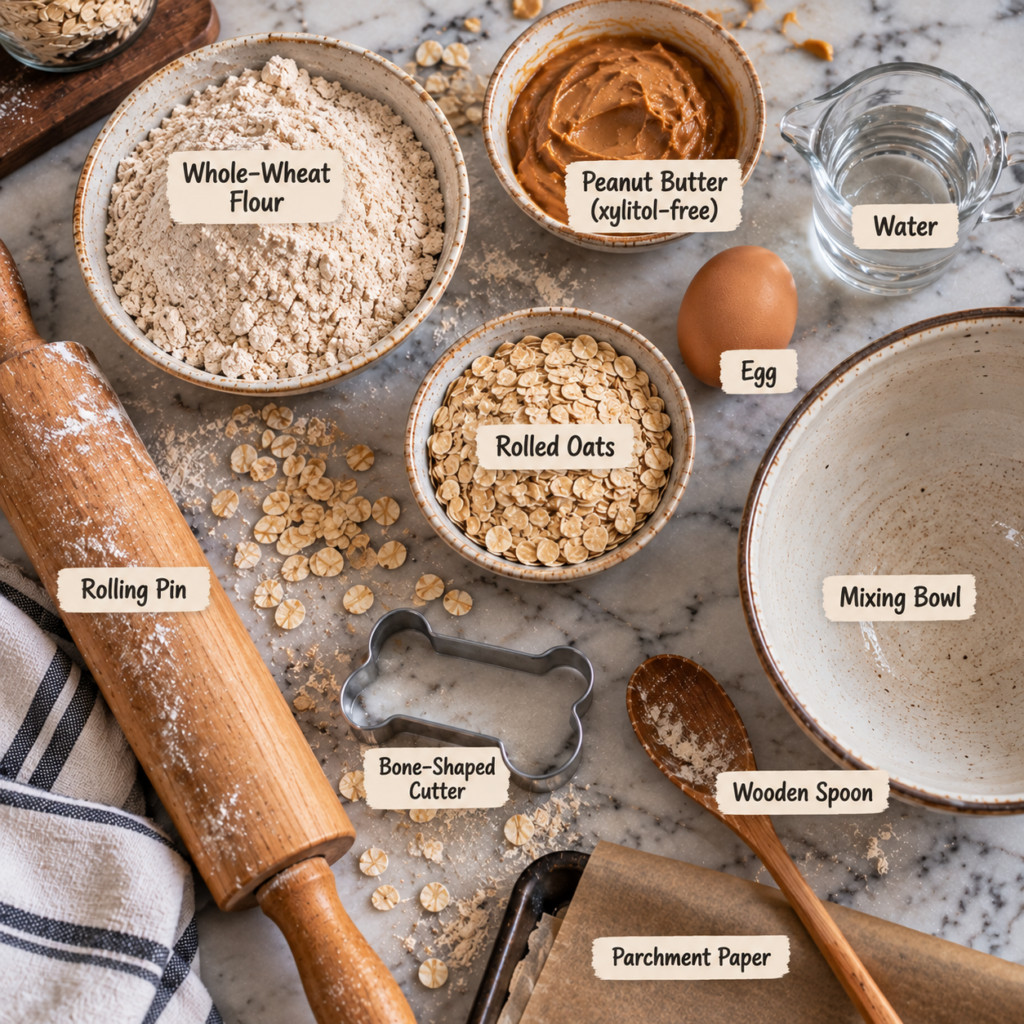
- 1 cup whole-wheat flour
- 1 cup plain rolled oats
- ½ cup plain peanut butter, xylitol-free and unsweetened
- 1 large egg
- ½ cup water, plus more if needed
Instructions
1. Prepare the oven
Preheat your oven to 350°F (175°C). Line a baking sheet with parchment paper.
2. Combine the dry ingredients
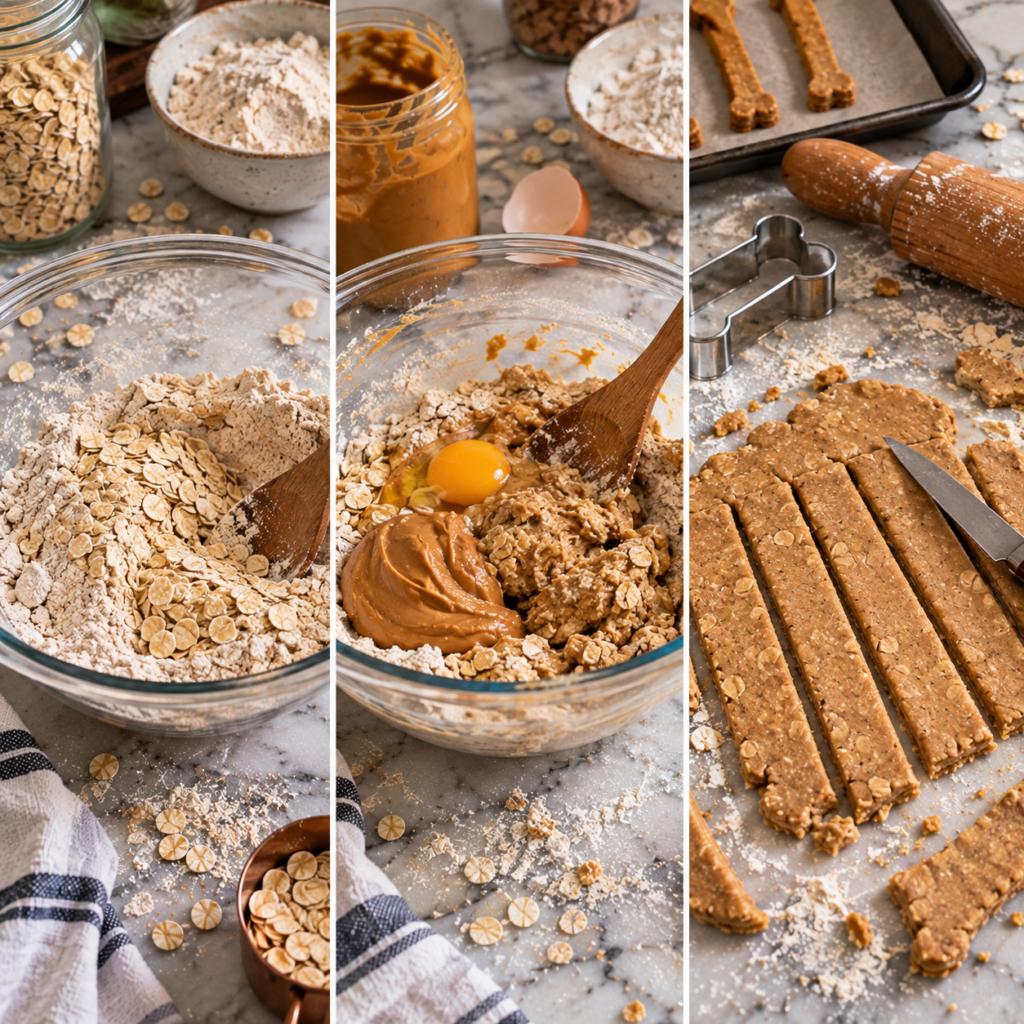
Add the whole-wheat flour and rolled oats to a large mixing bowl. Stir until evenly combined.
3. Add the peanut butter and egg
Add the peanut butter and egg. Mix with a sturdy spoon or your hands until the mixture begins to form a thick dough.
4. Add water gradually
Add the water a little at a time, mixing after each addition. Stop when the dough is firm but workable.
You want a dough that holds together when pressed without being overly sticky.
5. Roll out the dough
Lightly flour your work surface and roll the dough to about ¼-inch thickness.
For crunchy sticks, try to keep the thickness fairly even so they bake at the same rate.
6. Cut into sticks
Use a knife or pizza cutter to cut the dough into narrow sticks about 3–4 inches long.
For small dogs, make shorter and thinner sticks.
7. Arrange on the baking sheet
Place the sticks on the prepared baking sheet with a little space between them.
Prick each stick once or twice with a fork if you want to reduce puffing during baking.
8. Bake
Bake for approximately 20–25 minutes, or until the sticks are firm and lightly browned around the edges.
For a harder, crunchier biscuit, turn off the oven and leave the treats inside for another 10–15 minutes with the door slightly open.
9. Cool completely
Transfer the sticks to a wire rack and let them cool completely before giving one to your dog or storing the batch.
Serving, Storage & Variations
Serving
These are best treated as occasional rewards rather than something to offer freely throughout the day.
A small dog may only need a short stick or half of one, while a larger dog may tolerate a larger portion. Start small, especially if peanut butter is new to your dog.
Treats should generally remain a small part of your dog’s overall daily calorie intake.
Storage
Once completely cool, keep the sticks in an airtight container in the refrigerator for up to 1 week.
For longer storage, freeze them in a freezer-safe container with parchment between layers. Thaw one at a time when needed.
Make Them Smaller
For puppies or small breeds, cut the dough into short, narrow sticks rather than making the full-size version.
Make Them Crunchier
Roll the dough slightly thinner and give the sticks additional drying time in the turned-off oven after baking.
Add Pumpkin
For a seasonal variation, replace a small portion of the water with plain pumpkin puree. Avoid pumpkin pie filling, which can contain added sugar and spices.
Use Oat Flour
You can grind the rolled oats into a fine flour before mixing if you prefer a smoother dough.
Common Mistakes
Using the wrong peanut butter
This is the biggest mistake to avoid. Always inspect the ingredient label for xylitol or birch sugar before using peanut butter in dog treats.
Making the sticks too thick
Thick pieces can stay soft in the middle while the outside becomes overly brown. Rolling the dough evenly helps the sticks bake consistently.
Adding extra sweeteners
There is no need to add honey, sugar, syrup, or other sweeteners. The peanut butter provides plenty of flavor on its own.
Giving too many
Peanut butter is calorie-dense, so several sticks can add up quickly. Keep portions appropriate for your dog’s size and overall diet.
Storing them before they cool
Warm biscuits can trap moisture inside an airtight container and become soft. Let them cool completely first.
FAQ
Can dogs eat peanut butter?
Many dogs can eat plain peanut butter in moderation, provided it does not contain xylitol or other inappropriate ingredients. Peanut butter is relatively high in fat and calories, so portion size matters.
Can I use crunchy peanut butter?
Yes, provided the peanut butter is plain, unsweetened, unsalted or low in sodium, and completely free from xylitol. However, smooth peanut butter makes the dough easier to roll and cut.
Can I make these without eggs?
The egg helps bind the dough. You can experiment with a small amount of plain pumpkin puree or unsweetened applesauce as a binder, but the texture may be softer and the baking time may need adjustment.
How long do homemade peanut butter dog sticks last?
For the best texture, keep them refrigerated in an airtight container and use them within about a week. You can freeze extras for longer storage.
Are peanut butter dog sticks safe for every dog?
Not necessarily. Dogs with food allergies, certain medical conditions, weight-management needs, or prescribed diets may need different treats. If your dog has dietary restrictions, check with your veterinarian before introducing a new homemade treat.
What should I do if my dog eats peanut butter containing xylitol?
Contact your veterinarian or an emergency veterinary clinic immediately. Xylitol poisoning can become serious quickly, and you should not wait for symptoms to appear.
Conclusion
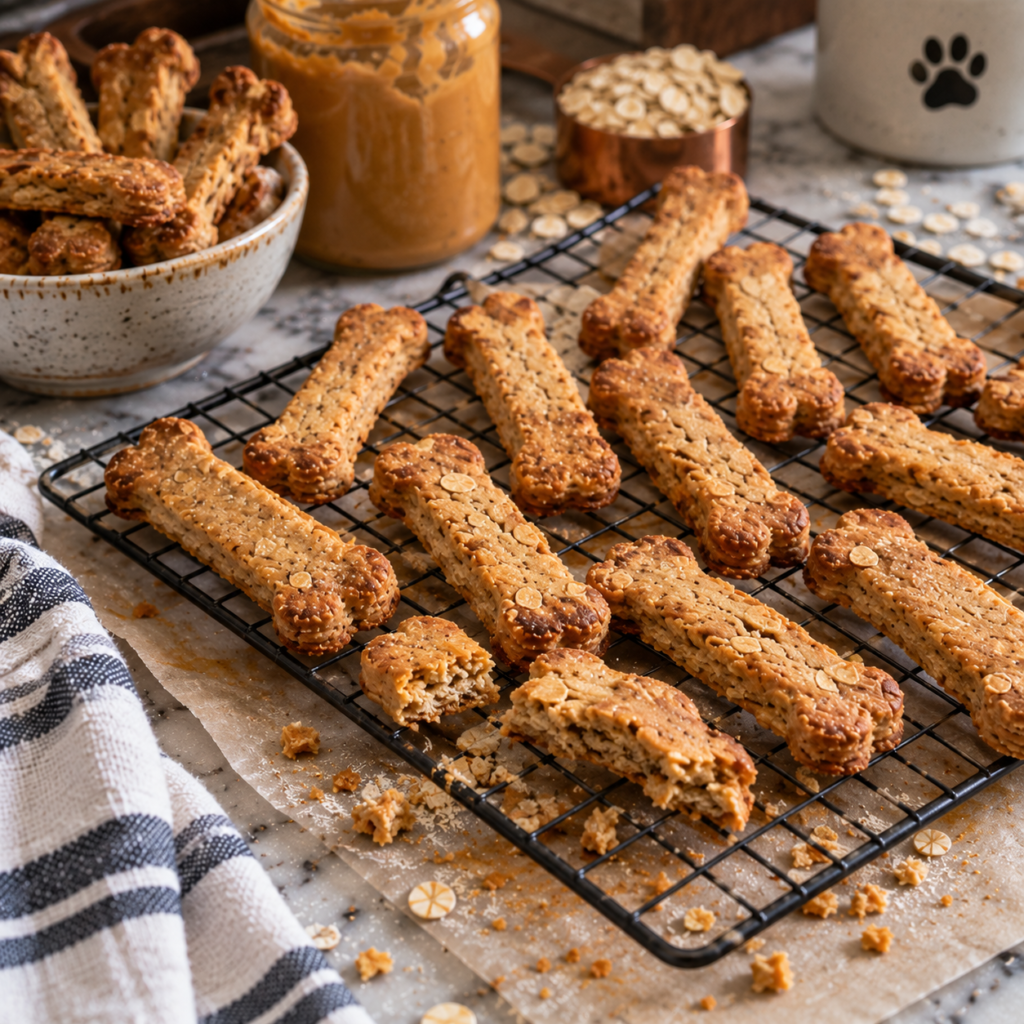
These homemade peanut butter dog sticks are a simple way to make a crunchy treat at home without a long list of ingredients. I especially like that the dough is easy to handle and the sticks can be made smaller or larger depending on the dog.
Just remember that the peanut butter you choose matters. Check the label every time and make sure there is no xylitol or birch sugar. Then keep the finished treats as an occasional reward and enjoy sharing a homemade snack with your pup.
Medical Disclaimer
This recipe is intended as a homemade treat, not as a replacement for a complete and balanced dog diet. Every dog is different, and some dogs may have allergies, food sensitivities, medical conditions, or dietary restrictions that affect which treats are appropriate. Introduce new treats in small amounts and contact your veterinarian if you have concerns about your dog’s individual diet or health.